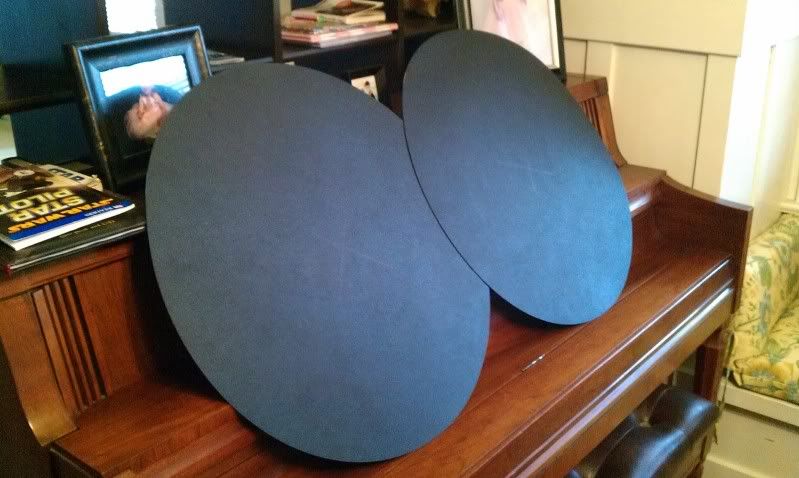
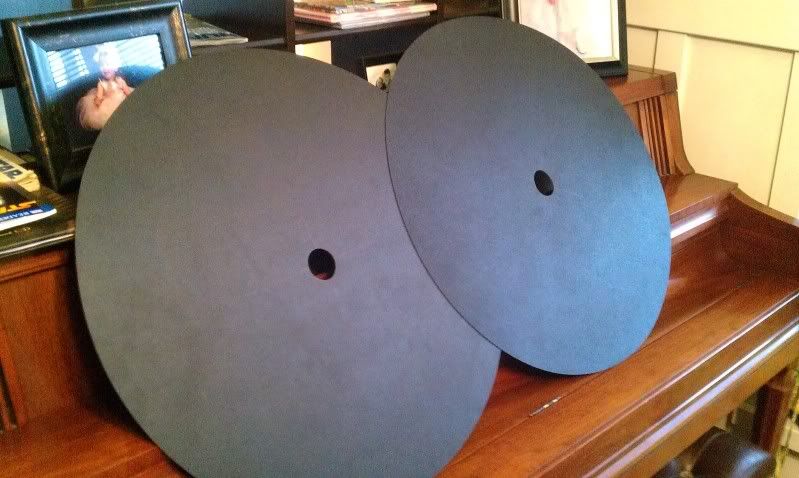
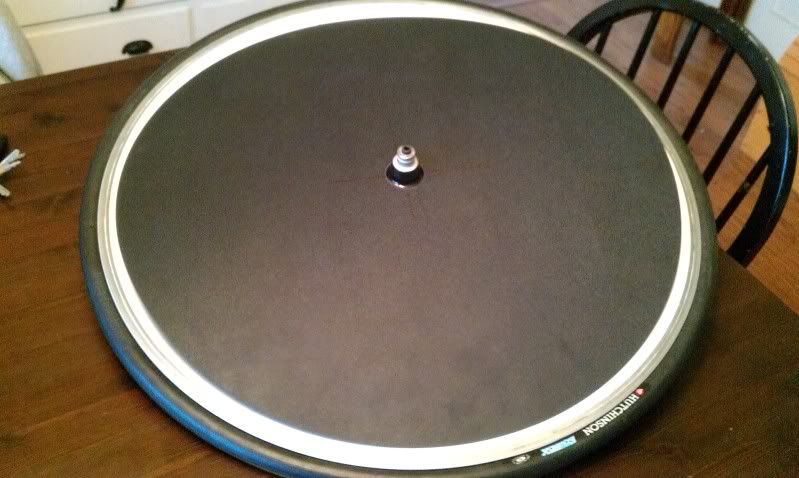
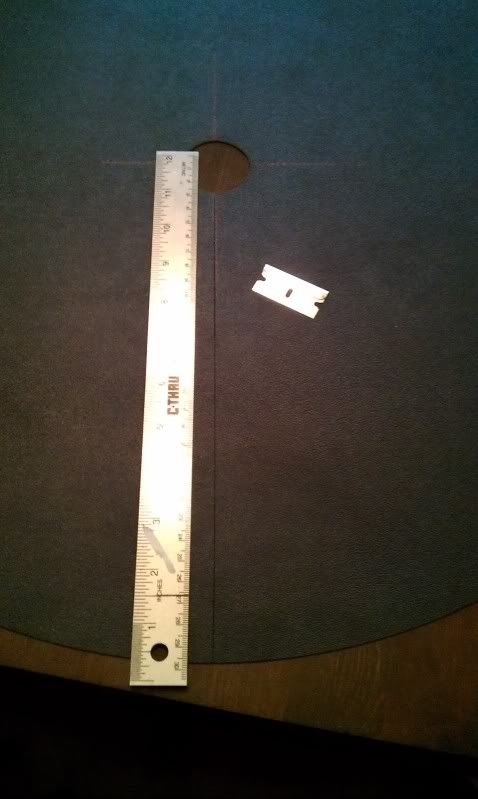
The step by step guide to making your own disc wheel cover...
-
 No new posts
| General Discussion | Triathlon Talk » The step by step guide to making your own disc wheel cover... | Rss Feed  |
| Moderators: k9car363, alicefoeller | Reply |
|
 2011-09-28 4:10 PM 2011-09-28 4:10 PM |
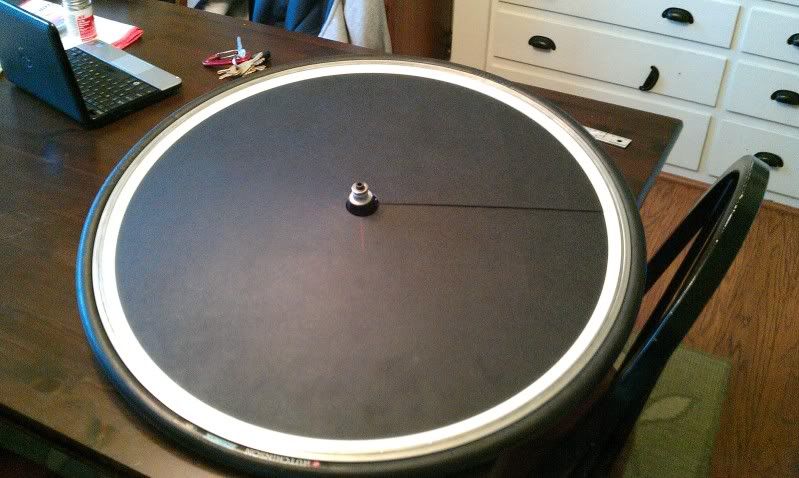
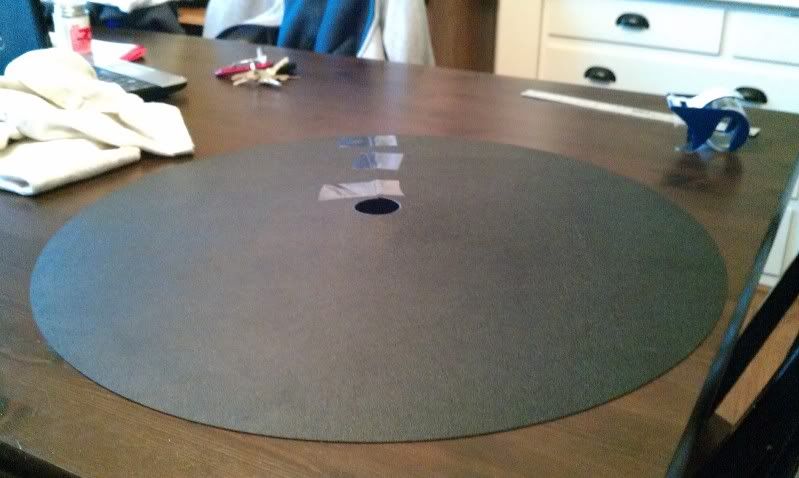
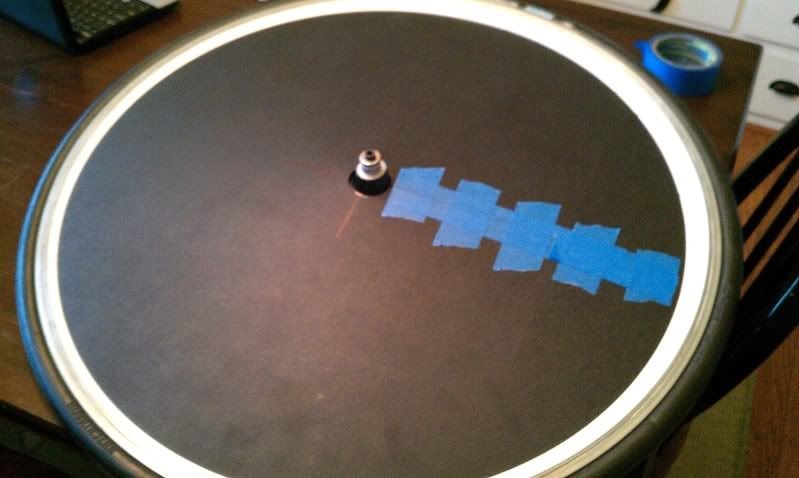
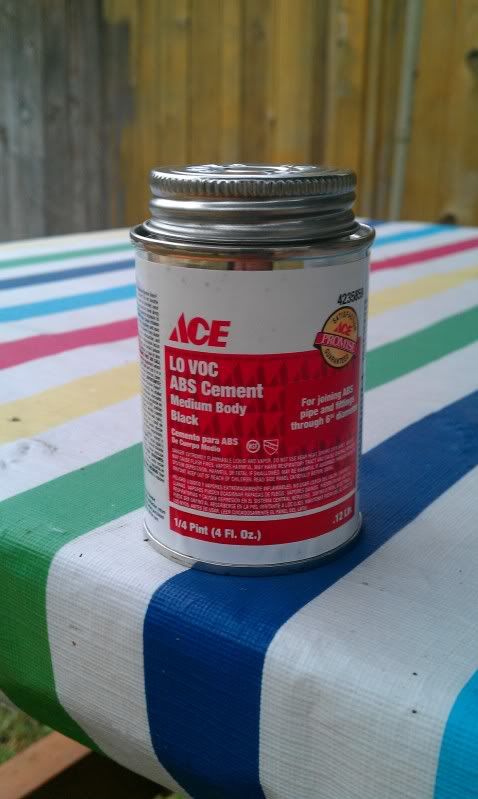
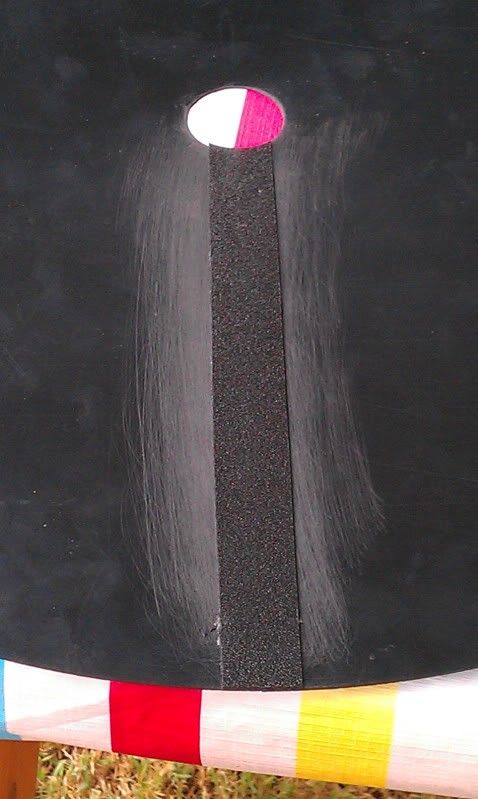
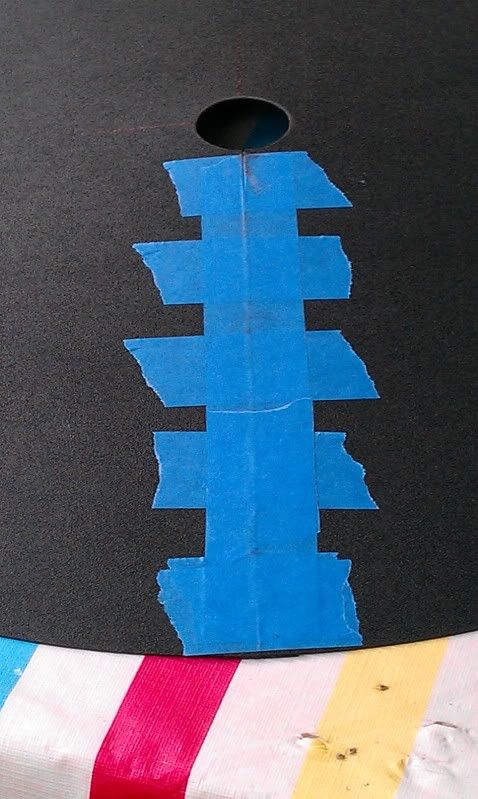
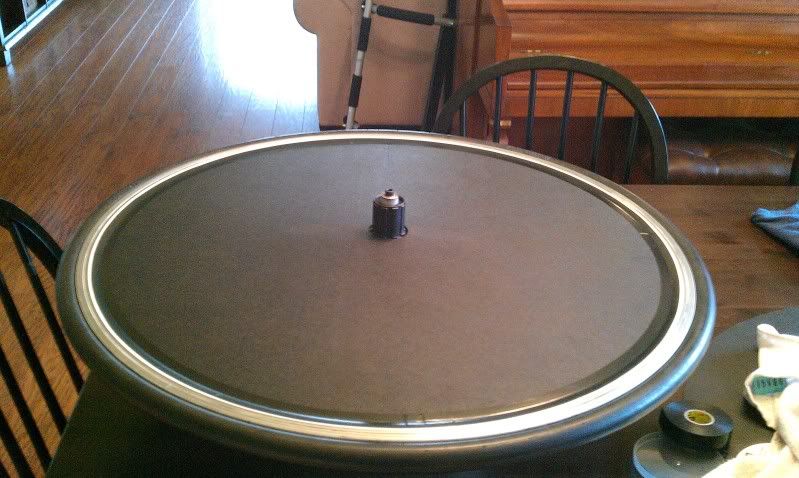
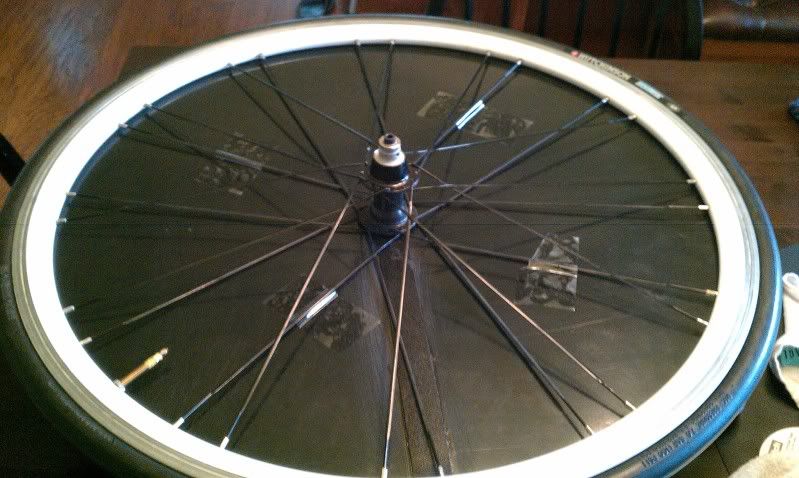
Extreme Veteran  833 833      Strong Beach, CA Strong Beach, CA |  Subject: The step by step guide to making your own disc wheel cover... Subject: The step by step guide to making your own disc wheel cover...I'm cheap...and I like to tinker. Okay, now that that's out of the way we can get down to business.
Edited by jackson61802 2011-09-28 4:18 PM |
|
 2011-09-28 4:28 PM 2011-09-28 4:28 PM in reply to: #3704175 in reply to: #3704175 |
 Subject: RE: The step by step guide to making your own disc wheel cover... Subject: RE: The step by step guide to making your own disc wheel cover...Pretty cool. But I still rather pay $100 for a custom built cover by people who know exactly what they are doing. Seeing first hand how my cover is installed, I can see how much precision is required. It's not rocket science, but it's not something I would want to do myself. Especially because I've seen what happens when a cover is not properly installed and fails. In a TT race, there was a guy who's cover started coming off and was hitting his seat/chain stays. He had to pull over, and physically rip his cover off with his hands just so he could finish. I don't know if it was a home made cover or not...but it just shows that these things can fail if you don't fasten them down properly, or if they are not fit to your wheel properly. For $87 extra, I think it's worth the piece of mind for me. Just my 2 cents. |
 2011-09-28 4:48 PM 2011-09-28 4:48 PM in reply to: #3704175 in reply to: #3704175 |
Extreme Veteran  2263 2263      Ridgeland, Mississippi Ridgeland, Mississippi |  Subject: RE: The step by step guide to making your own disc wheel cover... Subject: RE: The step by step guide to making your own disc wheel cover...Nice work! Impressive! |
 2011-09-28 4:55 PM 2011-09-28 4:55 PM in reply to: #3704204 in reply to: #3704204 |
Member  151 151    El Paso, TX El Paso, TX |  Subject: RE: The step by step guide to making your own disc wheel cover... Subject: RE: The step by step guide to making your own disc wheel cover...msteiner - 2011-09-28 3:48 PM Nice work! Impressive!
X2 !! Looks super clean! |
 2011-09-28 5:13 PM 2011-09-28 5:13 PM in reply to: #3704175 in reply to: #3704175 |
Pro  15655 15655       |  Subject: RE: The step by step guide to making your own disc wheel cover... Subject: RE: The step by step guide to making your own disc wheel cover...That is very cool! I envy anyone who has that type of talent. I'd glue my eyelids together, and the wheel to my hair. Great job! Edited by Left Brain 2011-09-28 5:13 PM |
 2011-09-28 5:59 PM 2011-09-28 5:59 PM in reply to: #3704222 in reply to: #3704222 |
Expert  913 913      Lost in the Evergreens Lost in the Evergreens |  Subject: RE: The step by step guide to making your own disc wheel cover... Subject: RE: The step by step guide to making your own disc wheel cover... |
|
 2011-09-28 6:15 PM 2011-09-28 6:15 PM in reply to: #3704193 in reply to: #3704193 |
Master  1799 1799        Houston Houston |  Subject: RE: The step by step guide to making your own disc wheel cover... Subject: RE: The step by step guide to making your own disc wheel cover...tri808 - 2011-09-28 4:28 PM Pretty cool. But I still rather pay $100 for a custom built cover by people who know exactly what they are doing. Seeing first hand how my cover is installed, I can see how much precision is required. It's not rocket science, but it's not something I would want to do myself. Especially because I've seen what happens when a cover is not properly installed and fails. In a TT race, there was a guy who's cover started coming off and was hitting his seat/chain stays. He had to pull over, and physically rip his cover off with his hands just so he could finish. I don't know if it was a home made cover or not...but it just shows that these things can fail if you don't fasten them down properly, or if they are not fit to your wheel properly. For $87 extra, I think it's worth the piece of mind for me. Just my 2 cents. X2 - I know it is theoretically cheaper to DIY but .... I have found that the money I spend on the materials, tools, and bandages, doesn't save me anything when I end up doing more damage to my possesions than the original problem. But, I hope this works well for the OP. Maybe you can create some competition for WB. |
 2011-09-28 6:47 PM 2011-09-28 6:47 PM in reply to: #3704175 in reply to: #3704175 |
Veteran  140 140  |  Subject: RE: The step by step guide to making your own disc wheel cover... Subject: RE: The step by step guide to making your own disc wheel cover...Jacks--cool. noone would know the difference with exception of plastic fasteners. Now you just need some wind-tunnel data. Ha! Use some of that talent on the drawer handle about to fall off..sorry, couldn't resist at least one fun poke. Doc |
 2011-09-28 7:03 PM 2011-09-28 7:03 PM in reply to: #3704266 in reply to: #3704266 |
Extreme Veteran  833 833      Strong Beach, CA Strong Beach, CA |  Subject: RE: The step by step guide to making your own disc wheel cover... Subject: RE: The step by step guide to making your own disc wheel cover...lol, you guys are funny.
You're right about one thing: this isn't rocket science. The only difference between this and WB covers is that theirs is (probably) vacuum molded to get the dish. Same material, same fit. Mine was measured and cut based on my actual wheel that I had on hand. It fits like a glove. I've seen plenty of threads with people having WB covers that fit like cr@p. As for not using the fasteners, there are lots ad lots of long-time cyclists and triathletes on another site that have never used the fasteners that WB provides...in fact you can order them without the holes. I actually planned for mine to have the maximum tape-able surface on the rim so I don't have a worry in the world about it coming loose. I'd be willing to be that in Tri808's example of one coming off, regardless of that person DIY'ng or buying a cover, the failure had to do with user error.
NewClydesdale - 2011-09-28 6:15 PM tri808 - 2011-09-28 4:28 PM Pretty cool. But I still rather pay $100 for a custom built cover by people who know exactly what they are doing. Seeing first hand how my cover is installed, I can see how much precision is required. It's not rocket science, but it's not something I would want to do myself. Especially because I've seen what happens when a cover is not properly installed and fails. In a TT race, there was a guy who's cover started coming off and was hitting his seat/chain stays. He had to pull over, and physically rip his cover off with his hands just so he could finish. I don't know if it was a home made cover or not...but it just shows that these things can fail if you don't fasten them down properly, or if they are not fit to your wheel properly. For $87 extra, I think it's worth the piece of mind for me. Just my 2 cents. X2 - I know it is theoretically cheaper to DIY but .... I have found that the money I spend on the materials, tools, and bandages, doesn't save me anything when I end up doing more damage to my possesions than the original problem. But, I hope this works well for the OP. Maybe you can create some competition for WB. |
 2011-09-28 7:22 PM 2011-09-28 7:22 PM in reply to: #3704175 in reply to: #3704175 |
Veteran 303 303   |  Subject: RE: The step by step guide to making your own disc wheel cover... Subject: RE: The step by step guide to making your own disc wheel cover...Bump for future use. Unless you want to make a set for me? Edited by firegirlred 2011-09-28 7:23 PM |
 2011-09-28 7:30 PM 2011-09-28 7:30 PM in reply to: #3704175 in reply to: #3704175 |
Champion  7595 7595       Columbia, South Carolina Columbia, South Carolina |  Subject: RE: The step by step guide to making your own disc wheel cover... Subject: RE: The step by step guide to making your own disc wheel cover...You're probably right about user error being the cause of a cover coming off. Nice job. I'm not going to do it -- it's a $$$ for time issue for me -- but I love the idea, and the execution. It looks first-rate. The packing tape helps reduce the rattling, so I'd keep doing that. And get some faster tires on those wheels! |
|
 2011-09-28 7:32 PM 2011-09-28 7:32 PM in reply to: #3704348 in reply to: #3704348 |
Extreme Veteran  833 833      Strong Beach, CA Strong Beach, CA |  Subject: RE: The step by step guide to making your own disc wheel cover... Subject: RE: The step by step guide to making your own disc wheel cover...Experior - 2011-09-28 7:30 PM You're probably right about user error being the cause of a cover coming off. Nice job. I'm not going to do it -- it's a $$$ for time issue for me -- but I love the idea, and the execution. It looks first-rate. The packing tape helps reduce the rattling, so I'd keep doing that. And get some faster tires on those wheels!
Yup....new tires and latex tubes for IMAZ! |
 2011-09-28 8:58 PM 2011-09-28 8:58 PM in reply to: #3704175 in reply to: #3704175 |
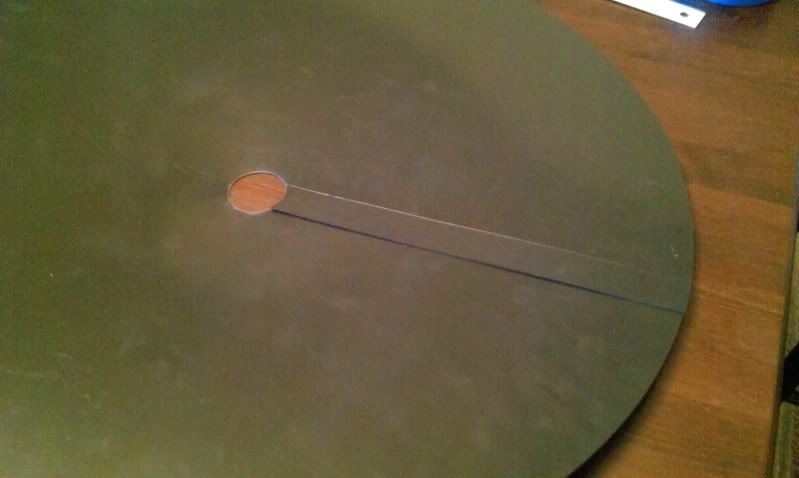
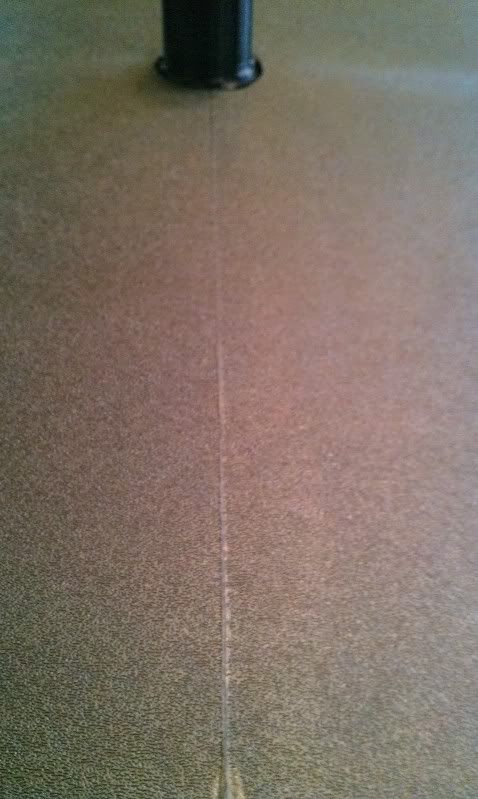
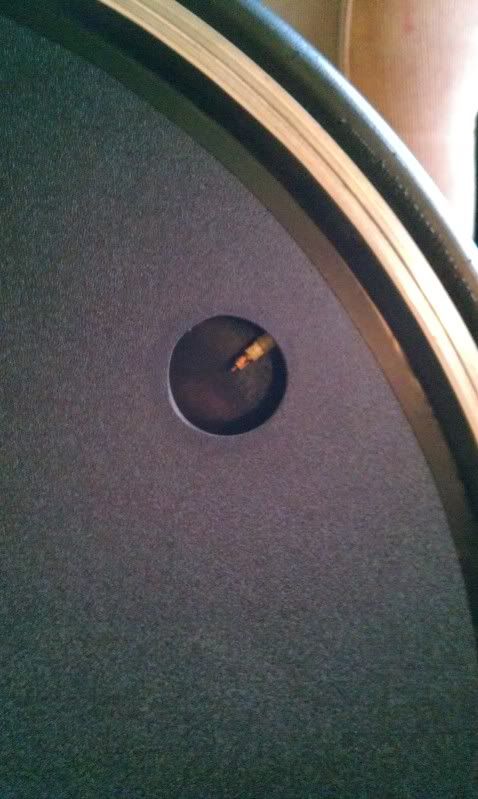
Pro  3804 3804       Seacoast, NH! Seacoast, NH! |  Subject: RE: The step by step guide to making your own disc wheel cover... Subject: RE: The step by step guide to making your own disc wheel cover...Pretty sweet! I have to agree. I really don't like how my WB cover fits my particular rim. I may try this just for S & G's. Did you end up sanding the seam after glueing at all? Is the surface of the plastic smooth? It looks rough in that last picture, but figured it was just a bit grainy from the photo. How much disc diameter did you lose on the non drive side when you cut out that pie piece? Looks nice! Edited by jgerbodegrant 2011-09-28 9:02 PM |
 2011-09-28 9:16 PM 2011-09-28 9:16 PM in reply to: #3704175 in reply to: #3704175 |
Extreme Veteran  833 833      Strong Beach, CA Strong Beach, CA |  Subject: RE: The step by step guide to making your own disc wheel cover... Subject: RE: The step by step guide to making your own disc wheel cover...The ABS comes smooth on one side and "hair cell" on the other which is like a wrinkle texture. I put the hair cell on the outside because the smooth side picks up every little scratch and looks crappy. Didn't have to sand the joint at all...but I probably could for a slightly smoother seam. |
 2011-09-29 9:24 AM 2011-09-29 9:24 AM in reply to: #3704175 in reply to: #3704175 |
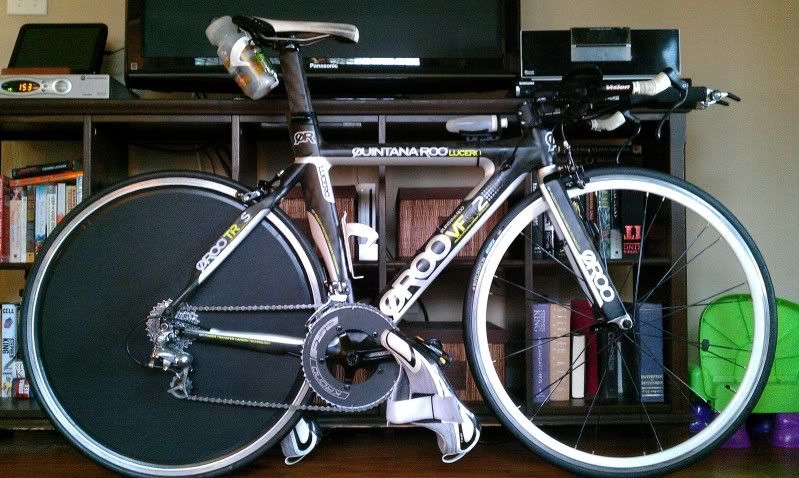
Regular  255 255    |  Subject: RE: The step by step guide to making your own disc wheel cover... Subject: RE: The step by step guide to making your own disc wheel cover...I chuckled at the picture of what looks like an exceedingly expensive bike (I know you can get 'em relatively cheaply on bonktown though) and then homemade disc covers. That was great. They look awesome, hope you get another mph faster! |
 2011-09-29 9:47 AM 2011-09-29 9:47 AM in reply to: #3704175 in reply to: #3704175 |
Veteran  251 251     Dallas Dallas |  Subject: RE: The step by step guide to making your own disc wheel cover... Subject: RE: The step by step guide to making your own disc wheel cover...Very cool. |
|
 2011-09-29 9:51 AM 2011-09-29 9:51 AM in reply to: #3704175 in reply to: #3704175 |
Iron Donkey 38643 38643             , Wisconsin , Wisconsin |  Subject: RE: The step by step guide to making your own disc wheel cover... Subject: RE: The step by step guide to making your own disc wheel cover...What about the front now?? Will you go with Zipp 808's or a HED 3? |
 2011-09-29 10:00 AM 2011-09-29 10:00 AM in reply to: #3704175 in reply to: #3704175 |
Extreme Veteran  635 635    Georgia Georgia |  Subject: RE: The step by step guide to making your own disc wheel cover... Subject: RE: The step by step guide to making your own disc wheel cover...Maybe a test ride on the trainer first before that big downhill.. |
 2011-09-29 11:31 AM 2011-09-29 11:31 AM in reply to: #3704900 in reply to: #3704900 |
Extreme Veteran  833 833      Strong Beach, CA Strong Beach, CA |  Subject: RE: The step by step guide to making your own disc wheel cover... Subject: RE: The step by step guide to making your own disc wheel cover...sevrdhed - 2011-09-29 9:24 AMI chuckled at the picture of what looks like an exceedingly expensive bike (I know you can get 'em relatively cheaply on bonktown though) and then homemade disc covers. That was great. They look awesome, hope you get another mph faster! Bought the frame used and built it up myself with parts from ebay, ST, Pricepoint etc. Cost was around 1200. |
  2011-09-29 11:53 AM 2011-09-29 11:53 AM in reply to: #3704175 in reply to: #3704175 |
 Subject: ... Subject: ...This user's post has been ignored. |
 2011-09-29 11:58 AM 2011-09-29 11:58 AM in reply to: #3704175 in reply to: #3704175 |
Master 2460 2460       |  Subject: RE: The step by step guide to making your own disc wheel cover... Subject: RE: The step by step guide to making your own disc wheel cover...If you were local and hosted a local class for $50-$100 (not including the materials, but you could sell those for a fee on top), I would have gladly signed on to learn to do that.
Friggin' awesome. Best part is that you can actually get better making those and cut them as gifts for fellow triathletes - I'll bet you could even donate a pair in lieu of race entry for an AG prize at a local race! |
|
 2011-09-29 12:06 PM 2011-09-29 12:06 PM in reply to: #3704175 in reply to: #3704175 |
Master 2426 2426       Central Indiana Central Indiana |  Subject: RE: The step by step guide to making your own disc wheel cover... Subject: RE: The step by step guide to making your own disc wheel cover... |
 2011-09-29 12:12 PM 2011-09-29 12:12 PM in reply to: #3704319 in reply to: #3704319 |
Extreme Veteran 569 569    Austin, TX Austin, TX |  Subject: RE: The step by step guide to making your own disc wheel cover... Subject: RE: The step by step guide to making your own disc wheel cover...jackson61802 - 2011-09-28 7:03 PM ...in fact you can order them without the holes. Dam - wish I would have known that. I use quality electrical tape only and it's fine. I do hate taping over every one one of those $#%@! holes. |
 2011-09-29 1:38 PM 2011-09-29 1:38 PM in reply to: #3704175 in reply to: #3704175 |
Extreme Veteran 833 833      Strong Beach, CA Strong Beach, CA |  Subject: RE: The step by step guide to making your own disc wheel cover... Subject: RE: The step by step guide to making your own disc wheel cover...The disc lays on the spokes and the edge ends up laying at about the midway point of my 30mm rim. |
 2012-01-20 3:00 PM 2012-01-20 3:00 PM in reply to: #3704175 in reply to: #3704175 |
Veteran 221 221  |  Subject: RE: The step by step guide to making your own disc wheel cover... Subject: RE: The step by step guide to making your own disc wheel cover...Anyone in Denver want to try this? I found a source for the sheet, but they only seel 4x8 sheets - $30. I think that would make covers for 2-4 bikes. If anyone wants to split the sheet, let me know. I'd like to give it a shot. |
| General Discussion | Triathlon Talk » The step by step guide to making your own disc wheel cover... | Rss Feed  |
|
 login
login


 View profile
 Add to friends
 Go to training log
 Go to race log
 Send a message
 View album
 CONNECT WITH FACEBOOK